 The Step-By-Step Tool
Description
The Step-by-Step wizard allows you to easily perform initial controller setup.

Connection setup is intended to work smoothly with all controllers. On supported controllers, you can proceed to axis setup after a connection has been established. Currently supported controllers are:
- DMC4000
- DMC4103
- DMC30000

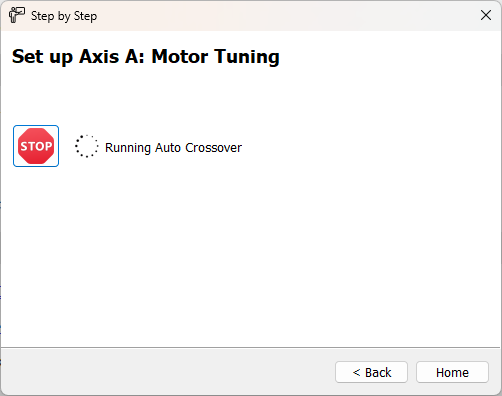
After selecting an axis, choose the encoder and motor types to set up, then perform encoder setup, motor setup, and motor tuning as desired.


The IO Setup screen allows configuring the polarity of limit and home switches, to ensure that motion will be permitted.

The Info screen shows various information about the connected hardware, as well as helpful links specific to your controller model.

The Save screen shows your controller's parameters in three columns: Default, Saved, and New.
- Default parameters are the factory settings
- Saved parameters will show any previously burned settings (only applicable if re-running Step-by-Step)
- New will show the parameters determined by Step-by-Step

After Step-by-Step is finished, your controller will have been added to GDK and a Terminal will automatically be opened.

![]()